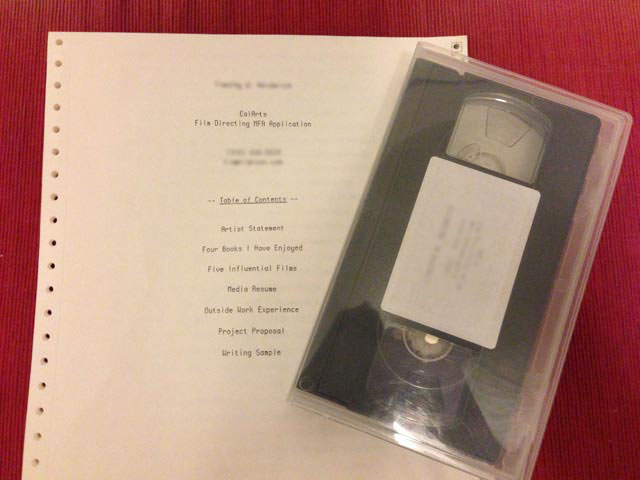
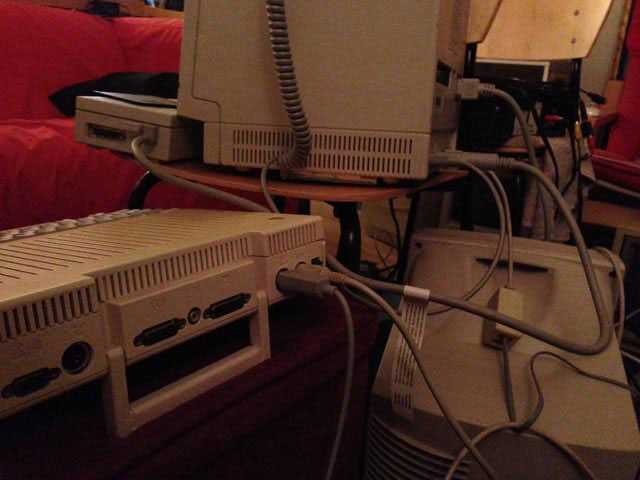
Here’s how I took a Mac SE/30, a 30-year-old impact printer, a disused VCR and some extraordinary effort to create my MFA directing application, and how nearly everything went wrong.
Accepted Formats
Here’s where this all started: in my directing MFA application, I must include a sample of my work, a personal video essay, and a true story on Bluray, DVD, or VHS.
…did you say VHS?
I am fascinated by the idea of media as packaged narrative, as a narrative objet-d’art. I’m a sucker for mixed media art projects like McSweeney’s #17 (a pile of letters), House of the Devil on VHS, a fan of Peter Saville design, and just bought Side A: The Music Lover’s Graphic Novel (which came with a vinyl single!), so if I wanted to best describe artistic issues I care about, my application would necessarily follow this format.
But why stop at just the tape? Why not make an application that appears to have been made with cutting-edge 1985 technology and was lost in the mail for three decades?
Titles
I already had my video idea, a discussion of the role of media in storytelling, rehashing Marshall McLuhan’s tenet that the medium is the message. I was citing pop art and abstract expressionism as influences, so the titles should speak to this preoccupation with media (although I think my work is probably closer to neo-dada for its fixation on machines in the production of art.)
Titles have always been tricky. They should have character, but not be distracting or take too much work for all of the 5-8 seconds they’ll appear. Since my essay was on the role of media, and the application was itself a technological throw-back, I plugged my Apple ][ Monitor into my Apple //c and downloaded an Applesoft BASIC reference manual (PDF) to refresh myself on skills I hadn’t used since I was a tween. This was the result:
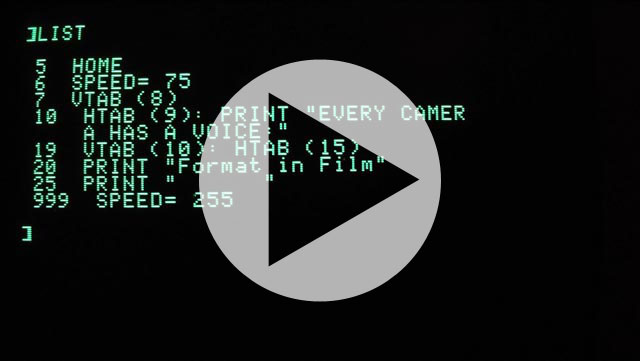
20 REM Click to Play
(I hasten to add that none of this would have been possible without the time I spent in Mr. Goldenkranz’s computer lab in 7th grade.)
More Titles
These titles were just for the essay, one work of three in my submission. Going back to the focus on media in my application, I took out of my parents’ storage a Minolta C-532 VHS-C camera I had used as a teenager, a camera which as it turned out had a function to enter video titles.
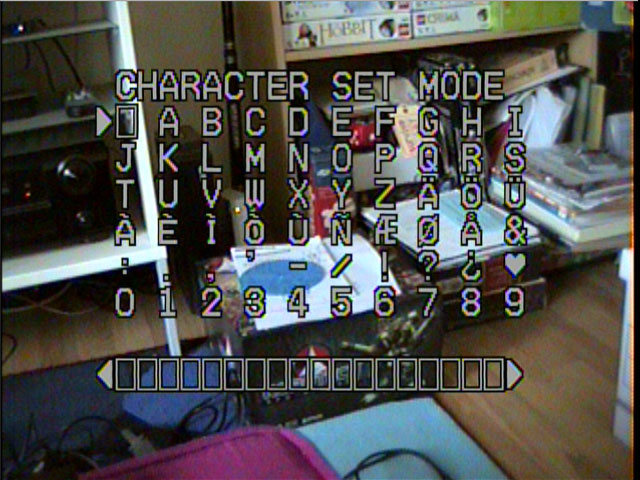
Using the up, down, and select buttons to enter my titles into the 18 spaces available in the camcorder’s display, I then used a donated EyeTV to digitize the video, creating conspicuous video noise on the line by twisting and unplugging the RCA jack on the camera’s video-out as the EyeTV recorded. Please do not adjust your tracking:
The audio was captured clanging and hissing of my heater reverberated through my laptop speakers, recorded on the PXL-2000 internal mic (Over 25 years later, the fidelity on the PXL-2000’s mic is incredible. Someone at Fisher-Price knew what they were doing.)
The Essay
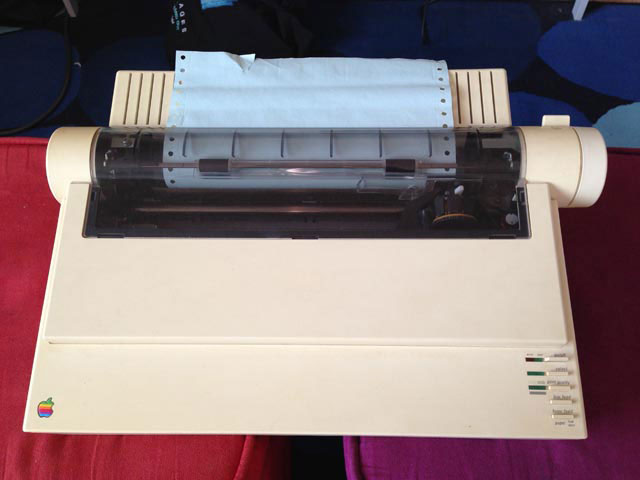
With the video being a throwback to the 1980s, I needed a printed essay to match, and my parents still had a few sheets of perforated paper for impact printers laying around. It wouldn’t just be a VHS tape, but an entire application for the admissions board to experience as an ’80s time capsule, with unbroken printer sheets with their print tracks still attached.
With a small Mac museum of a dozen all-in-one Macs spanning the SE through Classic lines, I have all the equipment to make an unbroken chain bridging Mac OS 6 through OS X 10.10. The crux of that system is an ethernet-equipped Color Classic (which occasionally doubles as a web server).
Color Classic, R.I.P.
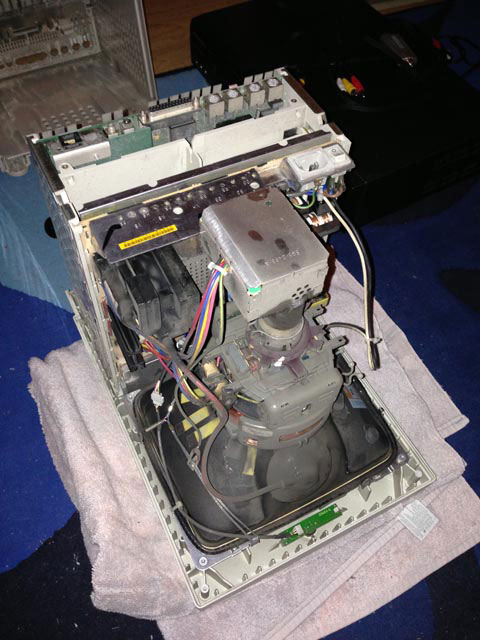
So I dust off and plug in the Color Classic—the lynchpin to this whole effort—flip the switch, and hit the Reset key.
Nothing.
Unlike earlier models with just an on/off switch, the Color Classic has a peculiar “semi-soft” power switch, where the main power is controlled by a physical switch, but the booting and re-booting of the machine is controlled by pressing the reset key located at the top of the Mac ADB keyboard… which isn’t working.
There are forums for Color Classic owners to turn to for troubleshooting help, and I quickly got to investigating the problem. Swapping out the keyboard had no luck, but then the vaunted Control-Apple-Reset accomplished nothing on another SE/30, so it’s not possible to rule out the keyboards being at fault. Removing the logic board causes the fan to turn on, although re-inserting it causes the fan to turn back off. No luck there, either. Suggestions included cleaning the logic board with soap and water, replacing any capacitors that may have leaked, or that the Classic may need to “soak” up power for 24-48 hours before being capable of turning on. But I didn’t have time for that.
Sneakernet
It helps to have a Plan B for these eventualities. Plan B was to use the “sneaker net“, and since my application would fit on a floppy disk, it was just a matter of getting my everyday PowerBook connected to a remaining working classic Mac.
For ten years, AppleTalk was the way to network Macs. It was a dead-simple network protocol that you could set up with only a printer cable, connecting two Macs via their serial port. Unfortunately, it was abandoned with the advent of OS X, and what I needed was a computer that could bridge pre- and post-OS X networks. I had that in my 1999 dual-boot Ruby iMac. One problem with that: Apple also retired the Mac 9-pin serial port with the first iMac, meaning I had to connect machines via some common network interface: that left ethernet. But with the Color Classic out of commission, that wasn’t going to happen. Plan B was a floppy drive.
First was a stop at Staples, where I remembered that the last time I did this was in 2005, and a lot has changed since then. While it might have been possible to find a USB drive in an office supply store when the iMac still had a CRT, the technology I was looking for was between three and four generations behind.
If you are looking for outdated technology, the best buys are always at Frys. I crossed my fingers that Frys would have what I needed, because I passed a Best Buy, and was not looking forward to skulking in there as part of Plan B-2.
Plucked from a stack of Windows-compatible high-density 3.5″ floppy drives purchased sometime around the turn of the century and subsequently forgotten at the back of the store, I had what I needed. Plan B had worked. (Knowing how well Plan A went, I should have picked up two.)
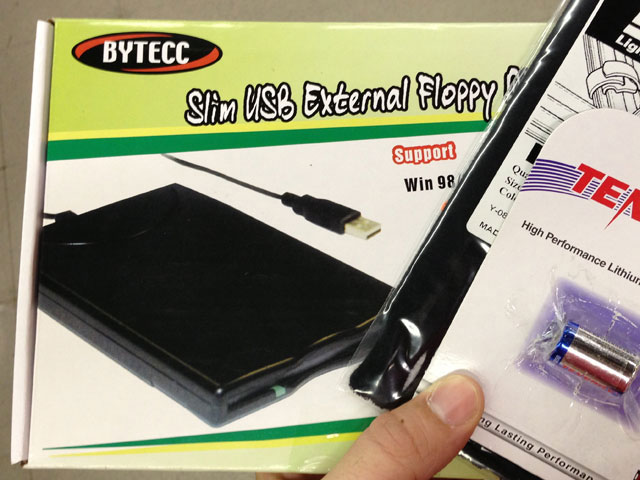
At home, I pulled a blank diskette from a shoebox I keep of 3.5″ floppies, inserted it into the USB disk drive, and was greeted with that familiar mechanical grinding of a disk read. This was one of the first things to go right.
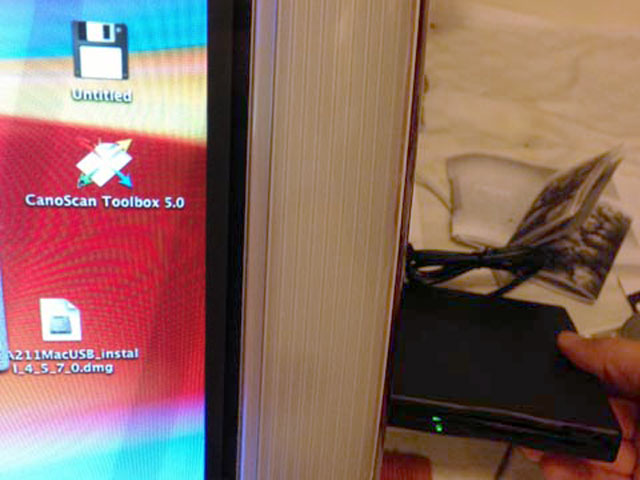
High-Density, High Anxiety
I inserted the floppy with my plain text files on it (rich text didn’t exist when MacWrite was written), and the disk icon appeared on the SE/30’s desktop. Success! I double-clicked MacWrite to open it. Crash! I restarted and opened Microsoft Word 3.0. Crash!
Though I was able to get the original files from a 2010 MacBook, to a 1999 iMac, to a 1988 SE/30, I had now hit a software roadblock: I can read the disk, but not the files on it.
My venerable Mac Classic shows a checkerboard pattern on the screen, evidence of a fried IC, and now I am running low on backup vintage Macs, so I dusted off my Mac SE (this colorful prose isn’t meant as a writing cliché, these things had sat disused for years). I turned it on, both MacWrite and Microsoft Works were installed and working. I breathed a sigh of relief, though I knew there was still a problem back when I read the box the USB drive came in: it reads high-density disks and the SE, being an older model than the SE/30, has a more primitive drive and will not read a high-density disk. It’s always something.
Now when I said that I can create an unbroken lineage from OS X to Mac OS 6? It actually goes further than that. With the help of the Apple External Drive, I can go back to the original Apple ][. The external drive shares the same port on the Apple //c as the Mac SE/30, meaning I can use this Apple drive as a low-density Mac drive.
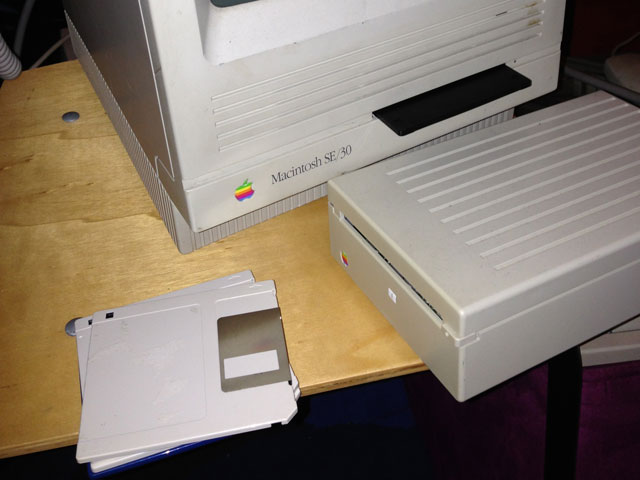
I copy the plaintext files from the HD disk in the SE/30 to the 700K floppy in the external drive and insert the 700K disk into the Mac SE that has a working copy of MacWrite. At last I have documents I created in 2014 on a machine built in 1987.
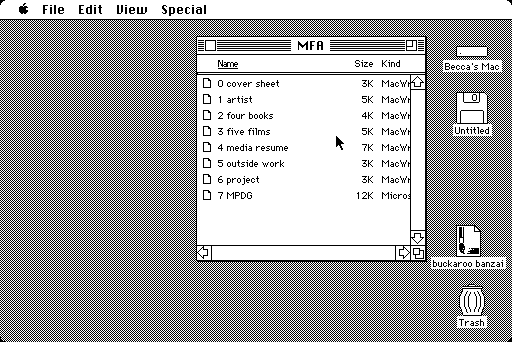
Now I can get to work.
MacWrite
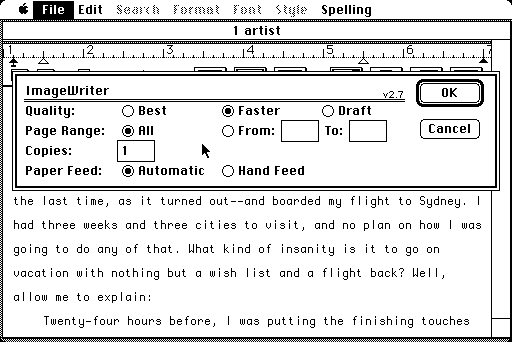
If we ever want to realize how easy we have it today, try using a word processor from 30 years ago. No autocorrect, documents that only allow one kind of line spacing, one font. Keyboard shortcuts were for the most part only a dream. And so I went through each of my documents, re-formatting, re-underlining, fixing spacing, touching up words here and there… y’know, the thing I was supposed to be doing before I had all the aforementioned hardware problems.
The pace is starting quicken! On to printing….
The ImageWriter II
This is where the anxiety of being a fine artist hit me. Closely examine any piece of modern art, and for all its simplicity, realize that what you aren’t seeing are all the mistakes, failures, and imperfections that led up to this one flawless work.
The idea was to print out the entire application—all 17 pages of it—in one unbroken sheet of perf paper. That meant no mistakes printing my seven documents, and if the ribbon ran out of ink or I printed on a perforation or tore a page, I would have to start all over. And since I only had 24 pages of printer paper, that meant I only had one shot.
I hate printers, so in what turned out to be my own personal irony, printing was the easiest part of the process. Select the printer, set feed to manual, load up a page, and out it shoots in no time flat.
After a few tense minutes, watching the printer head scream across each line, making sure the the pages didn’t get jammed up in themselves, I had my finished application.
Now onto the video!
Blank Tapes
Back in 2002, I purchased a stack of 15-minute demo tapes, but threw them out because, duh, when was I ever going to need them again? Lesson learned: never throw away anything. It was only after getting literally laughed out of two film stock locations in Burbank that I settled on using standard 8-hour VHS tapes from CVS. Not ideal for my purpose, but a tape is a tape.
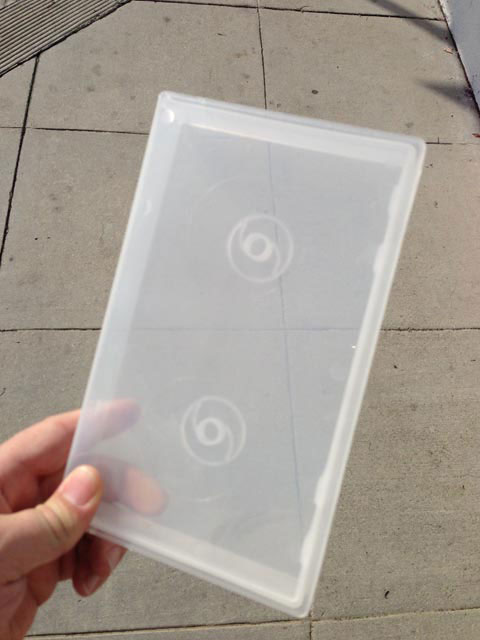
I picked up this bad boy for $1.
SP/LP/SLP
I mention the tape length because, though I was fortunate to have a Panasonic 4-head VCR in my closet, the remote was AWOL and the PV-8661 manual clearly states (PDF) that the record speed control can be found only on the remote. So the review board will have 10 minutes of video and seven hours fifty minutes of static. Not ideal, but this isn’t a show-stopper.
INPUT-1/CH 03
Not being able to record anything at all is, however. Before I could start recording or access the INPUT-1 RCA jacks, the VCR had a peculiar requirement. Pressing the up/down channel buttons would only take me to a menu to search for existing channels, and I wasn’t getting anywhere until I gave the VCR the channels it needed.
So just search for channels, right? Well, there are two problems with that:
- I don’t have cable.
- Even if I had an antenna, there was the small matter of the digital broadcast switchover that happened five years ago. There are no analog channels to receive.
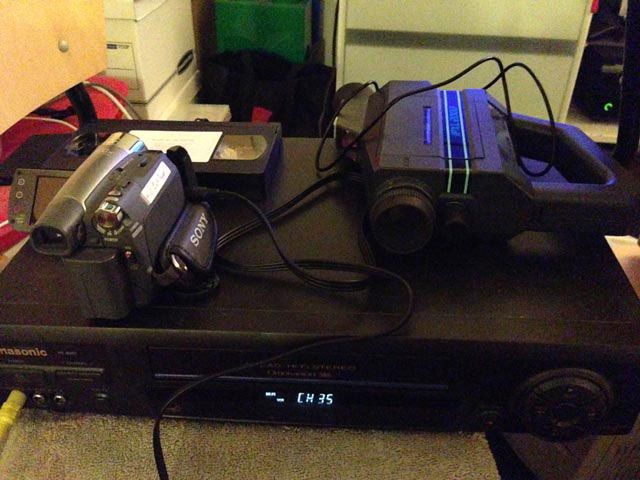
So fight old technology with old technology. The PXL-2000 outputs video via an RCA-style port, but it’s still a standard coax connection (the camera even has a channel 3 / channel 4 selector). I plug the camera into the VCR’s coax antenna input, hit channel up to begin the automatic channel search, and the little dummy starts ticking through channels 01 through 125. When the VCR finished, there is my Pixelvision broadcasting on channel 3. I press channel down and INPUT-1 appears on the screen!
DV to VHS
Now that we’ve got our ducks in a row, let’s take a moment to admire what a byzantine series of connectors this is:
- an external FireWire 800 drive
- plugged into a 2010 MacBook
- mirroring DV to a Handicam
- outputting video via RCA jacks
- to an analog VCR
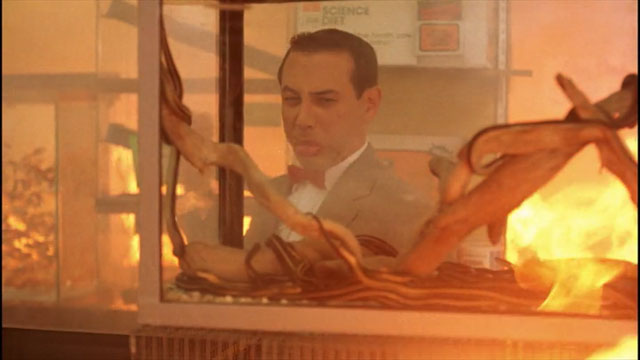
Terry Gilliam would look at this setup and call it madness.
I hit record on the front of the VCR, pressed play in Final Cut, and watched as my video flickered to life on my monitor. At last it was complete, and the sun hadn’t even come up yet today.
Conclusion
If there’s one thing I learned, it’s that I can’t expect 30-year-old hardware to be reliable. There were times I felt like cosmonaut Vladimir Komarov, screaming and swearing at mission control as he plummeted to a fiery death in substandard equipment at the dawn of the Russian space program.
Err… maybe not as bad as that, but there were moments when I was ready to cry out of sheer frustration, which is why it is important to have a Plan A, B and C. In theory, there is no difference between theory and practice. But in practice, there is.
I do not know whether I will get in with this application, but damn if the pleasure wasn’t in the doing.
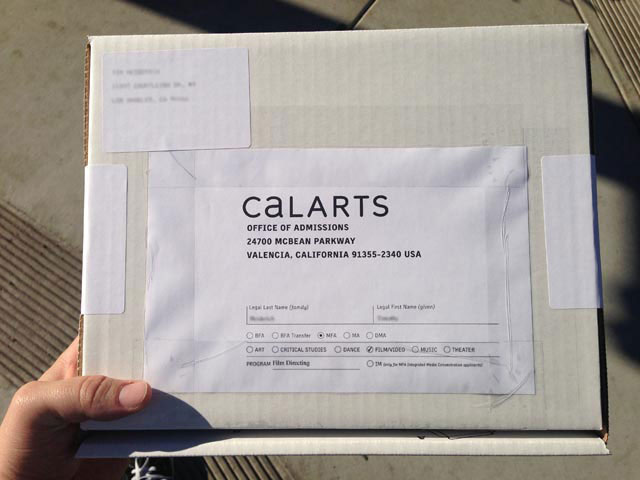
The other thing I learned is I need a workshop. This is my living room.
